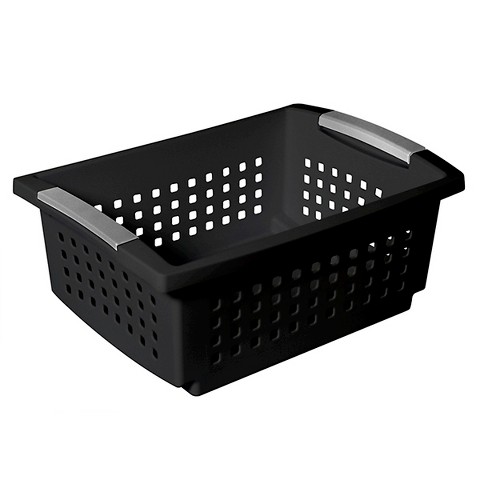
1. Find some really sturdy bins.
If you don't want to buy new ones year after year when the old ones break invest in some strong ones. If you are a bit OCD about things matching, also try to find ones that won't be discontinued every year when you have to buy more as your library size grows. These are some great bins I found at Target 5 years ago for relatively cheap ($18 for 6 medium baskets).
They come in a variety of colors and 3 different sizes and they've had them every year since. I usually find them in the home section or the fun colors are usually with the college dorm stuff at back to school time. I use the small baskets for leveled readers and a combination of medium and large baskets for my picture books, depending on how many books I have on a topic.
2. Sort books into piles.
Start making piles of categories of books. Think about the themes/units you teach, favorite authors, series books, class books, leveled books, magazines, etc. If you have any piles that are huge, try to split them into smaller categories. And if you have piles with just a few books try to find ways to combine them.
3. Find or create labels for your bins.
I created these for my own classroom. You can check them out in blue/green, black, or chevron here:
4. Attach labels to baskets.
I use velcro dots to attach my labels so they are easy to change if needed. When a basket gets too full, I simply pull the label off, put it on a larger basket, transfer the books and I am done!
5. Arrange baskets on shelves.
I like to put them in an order that I think makes sense and would be easy for students to use (i.e. animal books in the same area, favorite authors in the same area, etc.)
6. Number the baskets.
On the labels I created I have a small circle in the corner that I number 1 through 40 while they are on the shelves so I know they are in order when students are looking to return books.
7. Label your books.
On the back of each one of my books I add a small circle sticker (the kind used for garage sales) and number them to match my baskets. For leveled readers I label with the circle stickers and the letter to match it's level.
If you want to get real fancy schmancy you could also choose to color code your picture books by level. When I taught first grade I labeled picture books that were easy (levels A-D) with green stickers, on level (levels E-J) with yellow stickers, and challenging (levels K+) with red stickers. They still had the same number system for organization but when students looked through bins they could find just right books a bit easier. If you are looking for resources to level your books, I have used The Scholastic Book Wizard, The Classroom Organizer, Lexile.com, and Literacy Leveler.
Thanks for reading, and good luck getting organized!


No comments:
Post a Comment